
Setting off on a road trip is an exciting adventure, filled with the promise of new landscapes, unforgettable memories, and spontaneous detours. But before you hit the open road, there’s an essential step that often gets overlooked: ensuring your car is road-ready. A thorough auto repair checklist is your best travel companion, helping prevent unexpected breakdowns and keeping your journey smooth and safe. From checking tire pressure to inspecting fluid levels, a little preparation goes a long way in turning your road trip dreams into a worry-free reality. Let’s explore the key steps to get your vehicle in prime shape before you embark on your next adventure.
Table of Contents
- Preparing Your Engine for Peak Performance
- Inspecting Tires for Safety and Longevity
- Ensuring Fluid Levels are Optimal
- Brakes and Suspension Check for a Smooth Drive
- Testing Electrical Systems and Battery Health
- Packing Essential Tools and Emergency Kits
- Q&A
- Concluding Remarks
Preparing Your Engine for Peak Performance
Ensuring your engine runs smoothly before hitting the road is essential for avoiding unexpected breakdowns and maximizing fuel efficiency. Start by checking the oil level and quality; clean and fresh oil reduces friction and keeps internal components well-lubricated. Don’t forget to inspect the coolant level to prevent overheating, especially during long drives or in hot climates. A quick glance at your belts and hoses can save you from costly repairs—look for cracks, fraying, or leaks. Remember, a well-maintained engine breathes better and performs stronger.
Key engine preparations include:
- Changing the oil and oil filter if due
- Checking and topping up coolant levels
- Inspecting belts and hoses for wear
- Replacing air filters for optimal airflow
- Examining spark plugs for firing efficiency
| Inspection Point | Recommended Action | Frequency |
|---|---|---|
| Oil Level & Quality | Change/filter replacement if dark or gritty | Every 3,000-5,000 miles |
| Coolant | Top up or replace fluid to avoid overheating | Annually or per manual |
| Belts & Hoses | Replace if cracked, brittle, or leaking | Every 60,000 miles |
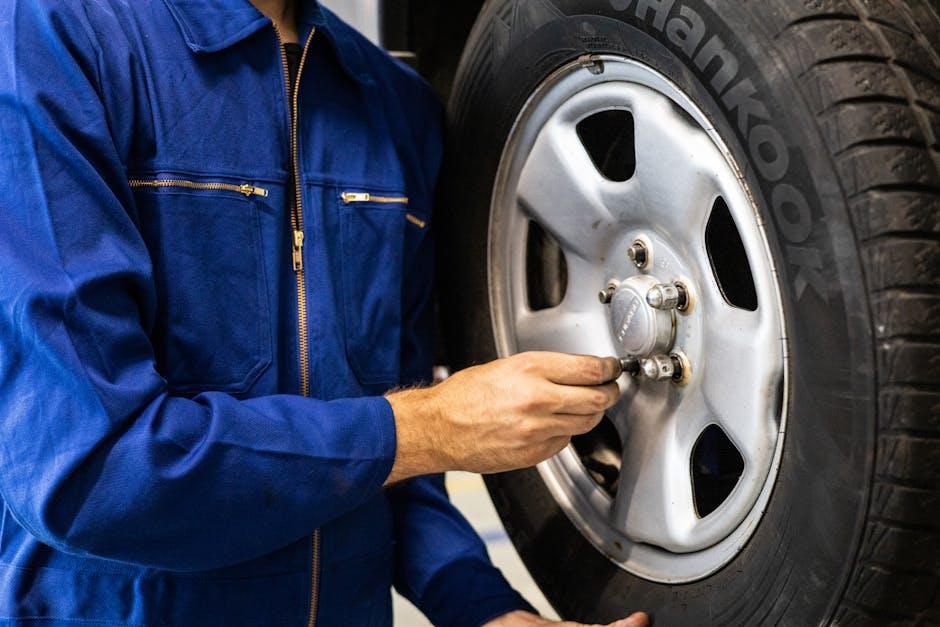
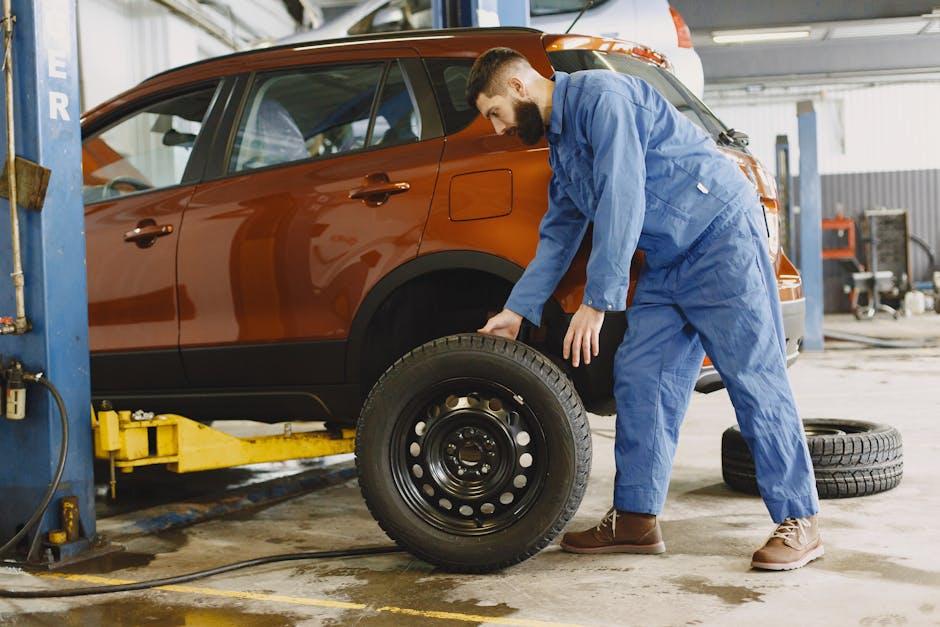
Inspecting Tires for Safety and Longevity
Ensuring your tires are in optimal condition is paramount before setting off on a long journey. Begin by checking the tread depth using a simple penny test: insert a penny into the tread with Lincoln’s head upside down. If you can see the top of his head, it’s time to replace your tires. Uneven wear patterns can indicate alignment issues, so inspect each tire carefully for any bald spots or embedded objects like nails or glass that could lead to sudden punctures.
Don’t forget to verify the air pressure, as proper inflation boosts fuel efficiency and handling while minimizing blowout risks. Keep in mind the manufacturer’s recommended PSI found on the driver’s door frame, not the maximum pressure listed on the tire sidewall. Here’s a quick guide to tire pressures depending on load:
| Load Condition | Recommended PSI |
|---|---|
| Light Load (solo driver) | 32-35 PSI |
| Moderate Load (passengers & luggage) | 36-38 PSI |
| Full Load (max capacity) | 40-42 PSI |
- Check for sidewall cracks or bulges, which are signs of tire deterioration.
- Rotate tires if necessary to promote even wear over time.
- Carry a reliable tire pressure gauge and a spare in good condition.
Ensuring Fluid Levels are Optimal
Maintaining the correct levels of your vehicle’s essential fluids is paramount for a smooth and safe journey. These liquids act as the lifeblood of your car, ensuring that every moving part operates without friction or overheating. Before you hit the road, make it a habit to check engine oil, coolant, brake fluid, transmission fluid, and windshield washer fluid. Each plays a unique role, and replenishing them can prevent costly breakdowns and extend engine life. Never underestimate how a routine fluid top-up can be a game-changer on long trips.
To make this process simpler, use the following checklist to verify your vehicle’s fluid levels. Remember, consistency is key: check after the engine has cooled and on level ground for accurate readings.
- Engine Oil: Should be between the minimum and maximum marks on the dipstick.
- Coolant: Check the reservoir level and top up with the appropriate antifreeze mixture.
- Brake Fluid: Must be above the minimum mark to ensure responsive braking.
- Transmission Fluid: Typically checked with the engine warm; consult your user manual for specifics.
- Windshield Washer Fluid: Fill for clear visibility, especially on dusty or rainy routes.
| Fluid Type | Optimal Level | Refill Recommendation |
|---|---|---|
| Engine Oil | Full between min & max dipstick marks | Use manufacturer-recommended grade |
| Coolant | Level between low & high marks in reservoir | 50/50 coolant-water mix |
| Brake Fluid | Above minimum line in reservoir | DOT 3/4 brake fluid as specified |
| Transmission Fluid | Check hot, use dipstick if available | OEM fluid type only |
| Washer Fluid | Fill reservoir fully | Use windshield washer fluid |
Brakes and Suspension Check for a Smooth Drive
Ensuring your vehicle’s stopping power and ride comfort is crucial before hitting the open road. Start by visually inspecting your brake pads and rotors for wear or uneven surfaces. Listen for any unusual squeaks or grinding sounds when applying the brakes, as these often signal the need for replacement or servicing. Don’t forget to check your brake fluid level, topping it up if necessary, and look for any signs of leaks around brake lines.
Your suspension system works silently to absorb bumps and provide stability, so give it proper attention as well. Conduct a bounce test on each corner of the car—press down firmly and release; if the car keeps bouncing, worn shocks or struts could be the issue. Examine bushings, ball joints, and tie rods for play or damage. Below is a quick checklist to guide you through the essentials:
- Brake pads: Minimum thickness and no cracking
- Rotors: Smooth surface, no deep grooves
- Brake fluid: Adequate level and clarity
- Shocks & Struts: Bounce test results
- Suspension joints: No excessive play or corrosion
| Component | Signs of Wear | Recommended Action |
|---|---|---|
| Brake Pads | Less than 3mm thickness, screeching sound | Replace immediately |
| Rotors | Grooves, warping | Resurface or replace |
| Shock Absorbers | Continuous bouncing after compression | Inspect and replace if needed |
| Ball Joints | Excessive play, squeaking | Lubricate or replace |
Testing Electrical Systems and Battery Health
Start by ensuring your vehicle’s electrical components are functioning properly to avoid unexpected breakdowns. Check all lights—headlights, brake lights, turn signals, and interior bulbs—to confirm they illuminate brightly and consistently. Don’t overlook the dashboard indicators; a lit warning light could mean underlying issues needing attention before you hit the road. Additionally, test your horn, windshield wipers, and power outlets, as all these small details contribute significantly to a safe and comfortable journey.
Battery health is equally critical. Examine the battery terminals for corrosion, which can impede electrical flow, and make sure connections are tight. If you have a voltmeter, measure the battery voltage—healthy batteries typically show between 12.4V and 12.7V. For added convenience, here’s a quick reference table to interpret battery voltage readings:
| Voltage Reading | Battery Condition |
|---|---|
| 12.7V+ | Fully Charged |
| 12.4V – 12.7V | Good Condition |
| 12.0V – 12.4V | Needs Charging |
| Below 12.0V | Replace Battery |
- Tip: If your battery is more than three years old, consider having it professionally tested.
- Safety Note: Always wear gloves and eye protection when inspecting electrical components.

Packing Essential Tools and Emergency Kits
Before embarking on your journey, equipping your vehicle with the right tools and emergency kits can be a lifesaver. Think beyond the basics—while a simple toolkit is essential, including items like a tire pressure gauge, jumper cables, and a multi-purpose utility knife ensures you’re prepared for unexpected hiccups on the road. Don’t forget essentials such as a reliable flashlight (with extra batteries), a compact first aid kit, and high-visibility safety vests to keep you safe during roadside repairs or emergencies.
Organizing your tools systematically can save precious time during stress-filled moments. Consider packing your emergency supplies in designated waterproof bags or compartments to protect them from dirt, moisture, and loss. Below is a handy checklist of crucial items to consider:
- Basic mechanic’s toolkit (wrenches, screwdrivers, pliers)
- Jumper cables with insulated handles
- Portable tire inflator and pressure gauge
- Reflective warning triangles and road flares
- Tow strap and gloves for safe handling
| Tool/Kit | Purpose |
|---|---|
| Tire Pressure Gauge | Ensures optimal tire inflation |
| First Aid Kit | Addresses minor injuries |
| Jumper Cables | Restarts a dead battery |
| Tow Strap | Assists in vehicle recovery |
| Flashlight | Provides visibility in low light |
Q&A
Q&A: Auto Repair Checklist Before a Road Trip
Q1: Why is it important to perform an auto repair check before hitting the road?
A1: A thorough pre-trip auto check ensures your vehicle is in prime condition, reducing the risk of breakdowns, costly repairs, and safety hazards. It gives you peace of mind to enjoy the journey without unexpected detours.
Q2: What are the essential fluids to inspect before a road trip?
A2: Key fluids include engine oil, coolant, brake fluid, transmission fluid, and windshield washer fluid. Each plays a vital role in your car’s performance and must be at proper levels to avoid overheating, poor braking, or reduced visibility.
Q3: How can checking tires improve road safety?
A3: Tires in good shape provide better traction, fuel efficiency, and handling. Check tread depth, look for uneven wear, ensure proper inflation, and don’t forget the spare. A well-maintained tire reduces chances of blowouts and skidding.
Q4: Should I test the brakes before a long drive?
A4: Absolutely. Brakes are critical for safety. Listen for squeaks, feel for responsiveness, and inspect brake pads and rotors if possible. If any abnormalities arise, have a professional mechanic take a look.
Q5: What role does the battery play in pre-trip maintenance?
A5: The battery powers all electrical components. Ensure the terminals are clean, the connection is tight, and consider testing voltage. A weak battery can leave you stranded, especially in remote areas.
Q6: Are lights and signals really that important to check?
A6: Yes! Functioning headlights, brake lights, turn signals, and hazards keep you visible and communicate intentions to other drivers. Check them all in daylight and darkness before leaving.
Q7: What about belts and hoses in the engine bay?
A7: These components control crucial engine functions. Look for cracks, fraying, or leaks. Faulty belts and hoses can cause breakdowns, so replacing worn parts beforehand avoids roadside hassles.
Q8: Is there anything specific I should pack for emergency auto repairs?
A8: A basic toolkit, jumper cables, tire inflator/sealant, flashlight, and reflective triangles can be lifesavers. Carrying these items empowers you to tackle minor issues or safely await help.
Q9: Can a professional inspection save time and stress?
A9: If you’re unsure about any checklist items, a mechanic’s pre-trip inspection is a smart investment. They can detect hidden problems and perform preventive maintenance to keep your trip smooth.
Q10: How often should I perform these checks if I frequently travel by car?
A10: Regular maintenance is key. Perform a quick check before every long trip and follow your vehicle’s service schedule. This habit ensures reliability whether it’s a weekend getaway or a cross-country adventure.
Concluding Remarks
As you embark on your next road trip, remember that a little preparation goes a long way. This auto repair checklist isn’t just a series of tasks—it’s your roadmap to peace of mind on the open road. By taking these steps, you ensure not only the health of your vehicle but also the safety and enjoyment of every mile ahead. So, before you turn the key and hit the highway, give your car the checkup it deserves. After all, the journey is as important as the destination—and it all starts with a well-prepared ride. Safe travels!